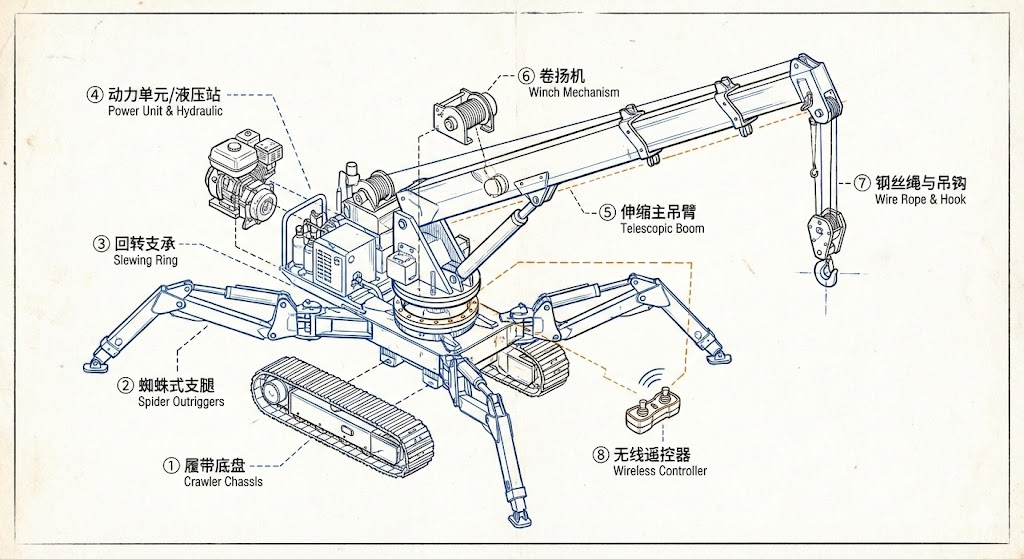
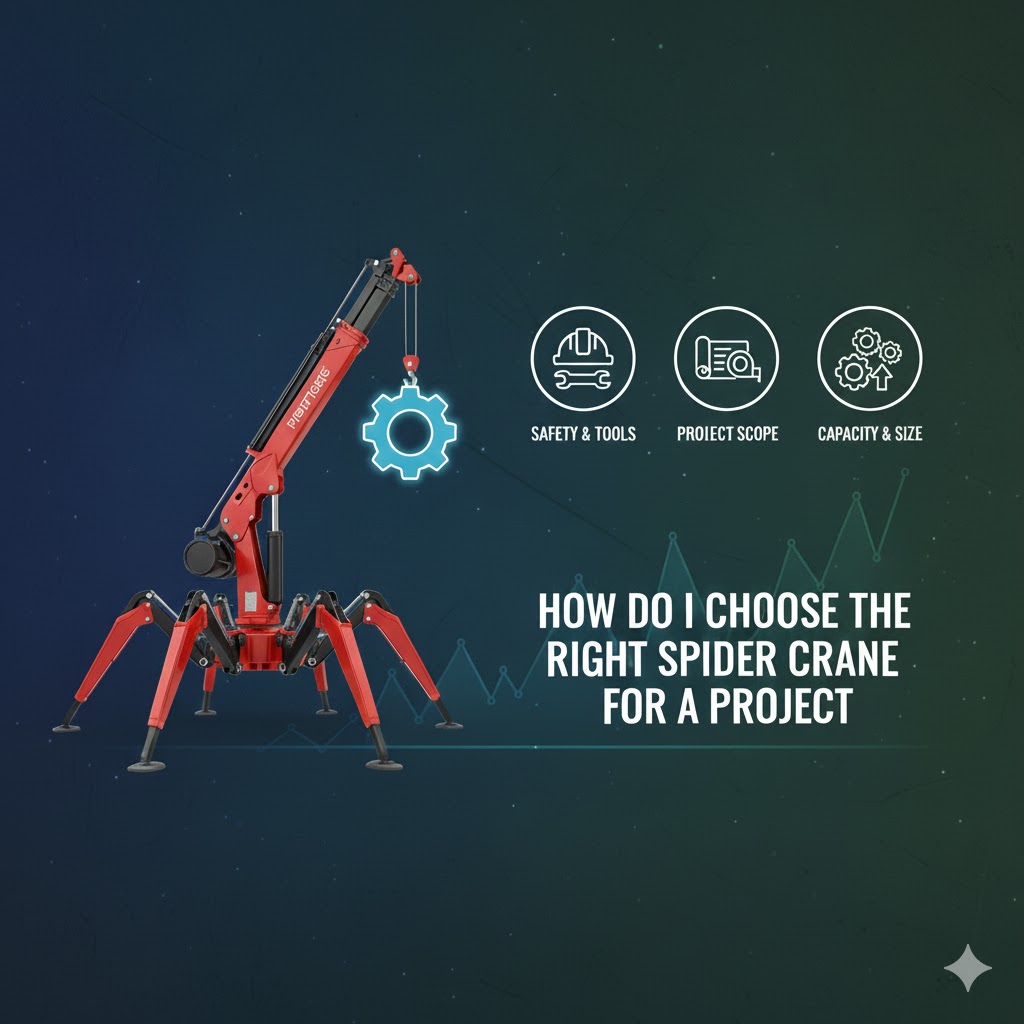
How To Choose The Right Spider Crane (Mini Crawler Crane) for a Project – My Practical Experience
When customers come to talk to me about spider cranes, almost nobody says:
“Please explain to me what a spider crane is.”
What they really want to know is:
“Which spider crane should I buy so it actually fits my projects, instead of becoming an expensive ornament?”
I work with spider cranes and other lifting equipment almost every day. Over the past few years, I’ve built up a very practical checklist for selecting a spider crane. In this article, I’ll share that checklist in a straightforward way, and also give you some rough but useful numbers I often use in real projects: typical capacity ranges, boom lengths, machine weights and power options.
If you’re not very familiar with spider cranes yet, you can first read our basic introduction article here:
https://www.slkjcrane.com/spider-crane-guide/
That article is mainly about “what it is”.
This one focuses on “how to choose”.
1. I Always Start from Three Simple Questions
How heavy is the load you want to lift?
How far do you need to lift it horizontally?
How high do you need to lift it vertically?
All other parameters are built around these three.
From the datasheets, typical rated capacity ranges for spider cranes look like this:
0.8–1 t class – mini spider crane
2–3 t class – mid-size spider crane
3–5 t class – larger spider crane
Based on the projects I’ve seen:
If your main work is indoor glass installation and light equipment lifting, usually a 1–2 t class is enough.
If you have mixed work on construction sites plus factory lifting, a 2–3 t class is often the best “all-rounder” in terms of cost-performance.
If you often handle heavier façades, steel structures and rooftop units, I tend to look at the 3–5 t class first.
However, I almost never plan lifts at 100% of rated capacity. My simple rule is:
For the key working conditions, I try to keep the actual maximum lifting load within 70–80% of the rated capacity.
A real example from a conversation:
The heaviest glass unit: 1.2 t
Working radius: 8 m
If the load chart shows only 1.2 t at 8 m, I don’t feel comfortable. I prefer a model that can do 1.5–1.6 t at 8 m, and then we keep actual lifting around 75–80% of that.
The key takeaway:
Don’t just stare at “max capacity 3 t” in the brochure. Always check how much capacity you still have at your actual working radius and lifting height.
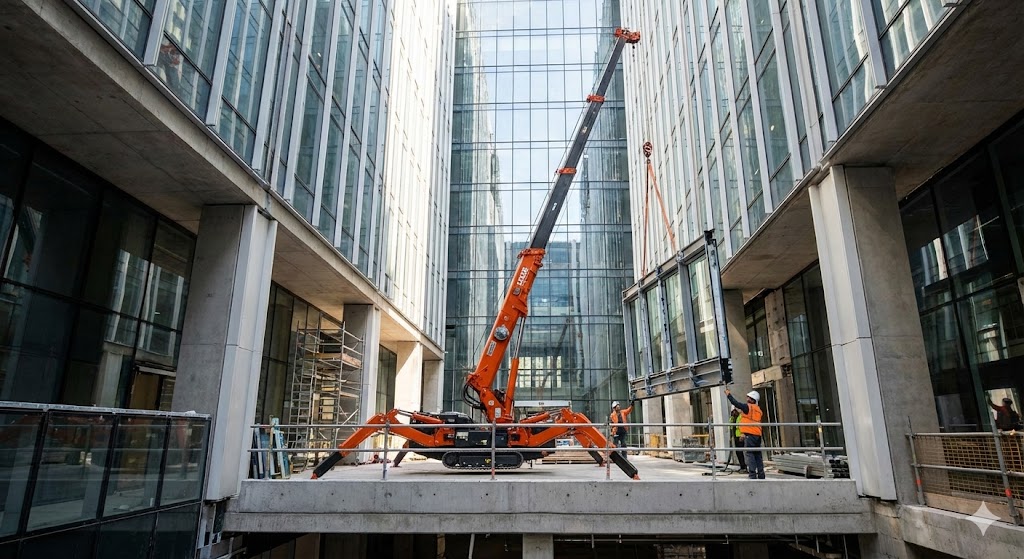
2. Working Radius – Why Spider Cranes Are Popular in Tight Spaces
One big reason spider cranes are so popular is that they can work in tight spaces and lift over obstacles. That all comes down to working radius.
The rough radius ranges I often see on site:
Very compact 1 t class: max working radius about 8–10 m (at light loads)
Mid-size 2–3 t class: max working radius about 12–16 m (at light loads)
Larger 3–5 t class: with main boom + jib, sometimes 16–20 m (at light loads)
When I look at a plan drawing, I usually ask a few questions:
From the crane position to the furthest lifting point, what is the horizontal distance?
Do we need to cross over parapet walls, balconies, canopies, pipe racks or other obstacles?
When the boom or the load moves, is there any risk of touching façades, structures or existing equipment?
If I see that most working conditions are around 10–12 m radius, I deliberately choose a model that still has comfortable capacity at 12 m, instead of one that is already “fighting for its life” at that radius.
3. Lifting Height – Usually Underestimated at the Beginning
Lifting height is another parameter that is often underestimated. At the beginning, many people say:
“We just need to reach the fifth floor.”
But when we calculate it based on the real site, we actually need to consider:
Floor or roof level
Height of parapet walls or railings
Height of the load itself
Height of lifting gear, wire ropes and a bit of safety clearance
Under typical conditions:
For buildings with 3–5 floors, a boom tip height of roughly 15–20 m is usually sufficient.
For higher façades or rooftop units on taller buildings, I tend to look at 20–25 m total height with main boom + jib.
In my own habit, I try to add 1–2 m extra hook height on top of the calculated number from drawings, to leave some buffer for site deviations and real obstacles.
Once I have a rough idea about capacity, radius and height, I move immediately back to site conditions. Many models look perfect on paper, but in the end you can’t get them into the building or you can’t open the outriggers properly, so they are useless in practice.
4. Structure and Access – Can the Site Really Take the Crane?
Every spider crane has two numbers you must respect:
Machine self weight
Maximum outrigger load
For common models, rough ranges look like this:
1–2 t class spider crane → self weight about 1.5–3 t
2–3 t class spider crane → self weight about 3–5 t
3–5 t class spider crane → self weight about 6–9 t
On floors or roofs, these weights are transmitted through the outriggers into the structure. In some heavy lifting conditions, a single outrigger reaction can easily exceed 100 kN.
So I usually want to know:
The design load of the floor / roof (kN/m² or kg/m²)
Whether structural drawings are available – at least slab thickness and reinforcement
Whether similar heavy equipment has been used at the same location before
Then we can decide together whether we need to design outrigger pads, steel beams or load-spreading solutions to reduce ground pressure. In many indoor and rooftop projects, the real bottleneck is not whether the crane can lift the load, but whether the structure can bear the crane and the outrigger reactions.
5. Access – Doors, Corridors and Elevators
Although spider cranes are compact, they are not “invisible”. We still need to think about how they travel inside the building.
Typical stowed widths fall roughly into these ranges:
Small 1 t class: about 0.7–0.8 m
Mid-size 2–3 t class: about 0.8–1.4 m
Larger 3–5 t class: often above 1.5 m
If a project requires the crane to pass through 900 mm door openings and standard passenger lifts to reach higher floors, then in reality we are likely limited to smaller capacity models, unless the building provides a dedicated cargo elevator or special access route.
My approach is very simple:
First, confirm the narrowest door width and height
If upper floors are involved, check elevator size and rated load
Pay attention to turning space at corners, slopes and stair landings
In real projects, I’ve seen more than once that:
The final model choice was not decided by “capacity needs”, but by “one 900 mm wide door”.
6. Setup Space – Outriggers and Slewing Area
Once the crane enters the building, it still needs enough space to set up outriggers and to slew.
Typical outrigger spreads:
Compact models: about 3.0–3.5 m
Mid-size models: about 4.0–5.5 m
Larger models: when fully spread, can reach 6.0–7.0 m or even more
Many spider cranes now support multiple outrigger configurations (for example, narrow on one side and wide on the other), but as long as the outriggers are not fully extended, the rated capacity will definitely drop.
So I usually ask the customer to mark on the plan:
Possible crane positions
Walls, columns and fixed equipment as obstacles
The theoretical area where outriggers could extend to
With this simple layout drawing, it usually becomes quite clear whether we can move up to a 3 t model, or if we should stay honestly in the 1–2 t range.
7. Power and Machine Weight – Not Just “Tons and Meters”
Spider cranes are not only about “tons and meters”. The power system and self weight also directly affect how easy it is to use the crane and whether the crane helps you make money.
From the projects I’ve worked on:
If the work is mainly outdoors, with long working hours and no strict emission limits, I still tend to choose diesel power.
For a 2–3 t class spider crane, common diesel engine power is roughly 20–40 kW.
If you often work indoors (shopping malls, hospitals, factories, airports, etc.), I strongly suggest considering pure electric or hybrid models.
Electric motor power is usually around 7.5–15 kW, depending on the crane size.
For mixed indoor + outdoor conditions, my favourite compromise is:
A crane with diesel + plug-in electric mode, or diesel + battery pack: use diesel outdoors, then switch to electric when you enter indoor or low-emission areas.
Before deciding on the power form, I usually clarify a few things:
Roughly how many hours per year will be indoors, in enclosed or low-emission environments?
How strict are the local regulations or client requirements on exhaust and noise?
Is there a stable and reliable power supply (voltage and current) on site?
Once these are clear, the choice of power system usually becomes straightforward.
8. Machine Weight and Ground Conditions
Machine self weight doesn’t only determine what size of truck you need. It also affects:
Whether the floor or roof can carry it
Settlement risks in soft soil or backfill areas
Whether heavy equipment is allowed to enter certain zones at all
I’ve already mentioned the typical self weight ranges, but to repeat:
1–2 t class → self weight about 1.5–3 t
2–3 t class → self weight about 3–5 t
3–5 t class → self weight about 6–9 t or more
Of course there are lighter or heavier designs, but most discussions happen within this range.
If I find that structural capacity at a project is quite “tight”, I sometimes actively suggest choosing a slightly smaller crane, doing more lifts and moving the crane more times, rather than taking unnecessary structural risk with a heavier model.
9. Efficiency in Real Projects – Not Only Lifting Speed
When we talk about “efficiency”, it’s not just about how fast the hook goes up and down.
On real job sites, I care more about:
Whether movements are smooth and easy to control in fine increments
Whether we can configure the right attachments: glass vacuum lifters, man baskets (where regulations allow), special lifting beams, extra winches, etc.
Whether setup and relocation are convenient – can the crane move several times in one day to support different work areas?
For example, in glass installation projects, I would rather pick a crane with very fine micro-movement control and good interface with glass vacuum lifters, even if its advertised “maximum capacity” is slightly lower than another model. In real use, that kind of crane often performs better.
10. Safety Margins and Protection – My Comfort Zone
On site, load weight is almost never “accurate to the last kilogram”. There are allowances, strengthening plates and extra lifting gear, so errors are inevitable.
That’s why my personal habit is to keep actual lifting in key conditions within 70–80% of rated capacity.
If the load chart shows 2.0 t at 8 m radius, my comfortable working point is around 1.4–1.6 t at 8 m, rather than trying 1.9 t and operating on the limit.
For any spider crane I’m willing to recommend, at minimum it should have:
Load moment limiter (AML / LMI)
Overload, over-hoist and over-lowering protection
Emergency stop buttons at multiple positions
Clear visual and audible alarms
Personally, I prefer systems where the crane gradually slows down when approaching limits, then stops completely, rather than suddenly cutting off everything in one step. That’s much friendlier to both the operator and the load.
If the job site is close to façades, public roads, existing buildings or high-voltage lines, we can also add working range limits (height, radius, slewing angle) so that the crane can only move within a defined safe envelope.
11. Compliance and Day-to-Day Management
When you decide to buy a spider crane instead of renting one occasionally, it also means you take responsibility for:
Making sure the equipment complies with local lifting, safety and environmental standards
Ensuring operators have proper training and valid certification
Building a relatively standardised system for inspections, maintenance and periodic examinations
As a manufacturer, we normally provide:
Complete load charts, test reports and factory certificates
Operation and maintenance manuals
Suggested daily, monthly and yearly inspection items
This makes it easier for you to integrate the spider crane into your existing safety management system.
12. How I Match Typical Applications to Practical Specs
After all this theory, it’s easier to understand if we look at a few typical scenarios and how I think about them.
12.1 Indoor Glass Installation
If a client mainly does indoor glass installation – for example, in shopping mall atriums, office lobbies or building interiors – my starting point is usually:
Capacity: 1–2 t class
Boom tip height: main boom + jib combined about 16–22 m
Practical working radius: typically 8–12 m
Self weight: around 2–4 t
Power: pure electric or hybrid, with motor power around 7.5–15 kW
Stowed width: if the crane has to use elevators and pass normal doors, I prefer ≤ 0.8–1.0 m
On top of that, I focus on:
Whether glass vacuum lifters can be easily mounted and connected
Whether the micro-movement and low-speed modes are fine enough
Whether floor capacity and outrigger pad solutions have been properly calculated
If a client tells me their heaviest glass unit is 1.2 t at about 8 m radius, I deliberately look for a spider crane that can do at least 1.5–1.6 t at 8 m, not one that just barely reaches 1.2 t.
12.2 Mixed Outdoor Construction + Factory Work
For contractors who handle outdoor steel structures, precast elements and also frequently enter workshops and plants to lift equipment, my typical suggestion is:
Capacity: 2–3 t class
Max working radius: about 14–16 m
Boom tip height: about 18–22 m
Self weight: roughly 3.5–5 t
Power: depending on how much indoor work there is, choose between diesel + electric or diesel + battery
This capacity range is very popular because it’s not too big (many buildings can still accept it), but it’s strong enough to cover many general lifting tasks.
12.3 Rooftop HVAC, Tanks and Small Transformers
For rooftop HVAC units, water tanks and small transformers, I pay special attention to:
Capacity: usually 2–4 t
Boom tip height: about 20–25 m
Whether the load chart is strong enough in the 8–14 m radius range
Structural calculations for floors / roofs and outrigger reaction distributions
In many rooftop projects, we spend more time on calculating structural supports and designing pads and beams than on picking the crane model itself. For me, that’s a good sign – it means everyone is taking structural safety seriously.
13. My Simple Step-by-Step Selection Flow
Finally, here is the selection flow I actually use in real projects. You can copy it directly for your own jobs:
1.Add Your Heading Text Here
Add 10–20% safety margin on lifting weight
Add 1–2 m extra hook height beyond the drawing
2.Check site structure conditions
Floor / roof design loads, slab thickness, ground conditions
Whether outrigger pads, beams or special load-spreading solutions are needed
3.Measure access and setup space
Narrowest door, corridor and elevator dimensions
Theoretically available outrigger spread range
4.Decide the power concept
Mainly outdoor → favour diesel
Mainly indoor → favour pure electric or hybrid
Indoor + outdoor mix → choose a flexible combined solution
5.Roughly select between the 1–2 t, 2–3 t and 3–5 t classes
- Compare load charts, especially at the critical radius and height
6.Leave reasonable safety margin for key working conditions
- Try to keep actual lifting within 70–80% of rated capacity
7.Use attachments and options to “fine tune” the crane
Glass lifters, jibs, winches, man baskets (where allowed by local rules), control and safety options
If you are a rental company or specialist contractor, consider custom colours, logos and branding
We are a manufacturer and seller of spider cranes, not a local rental company, so my goal is very simple:
I want you to end up with a spider crane that will work reliably on many projects over many years, not just barely survive one extreme lift.
As long as you can provide some basic information (plan and elevation drawings, site photos, maximum load and required radius/height), I can usually narrow the options down to one or two suitable configurations quite quickly, and then fine-tune the parameters and options based on your country’s standards and your own habits.

Expert in Overhead Crane/Gantry Crane/Jib Crane/Crane Parts Solutions
Eileen Hu
With 20+ years of experience in the Crane Overseas Export Industry, helped 10,000+ customers with their pre-sales questions and concerns, if you have any related needs, please feel free to contact me!
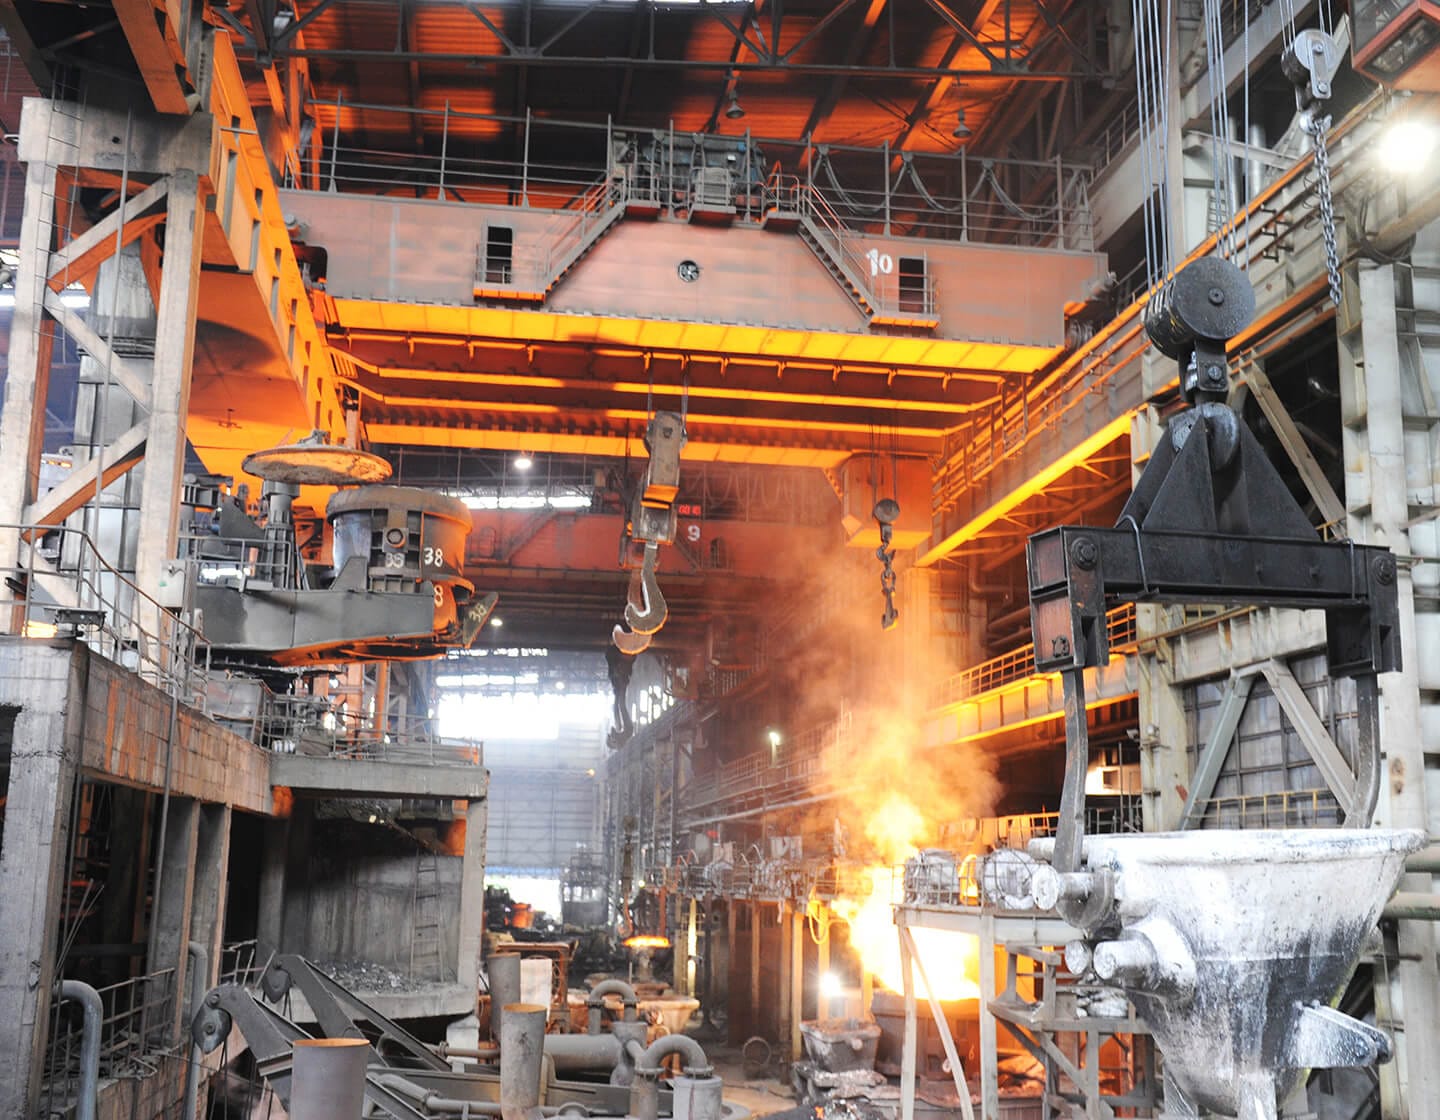
Cranes as the Backbone of Modern Steel Plants
Cranes as the Backbone of Modern Steel Plants How the Right Steel Plant Crane Solutions Drive Efficiency, Safety,
Where Spider Cranes Really Shine: 7 Typical Applications & Real Project Scenarios
Where Spider Cranes Really Shine: 7 Typical Applications & Real Project Scenarios When people ask me about spider
How To Choose The Right Spider Crane
How To Choose The Right Spider Crane (Mini Crawler Crane) for a Project – My Practical Experience When
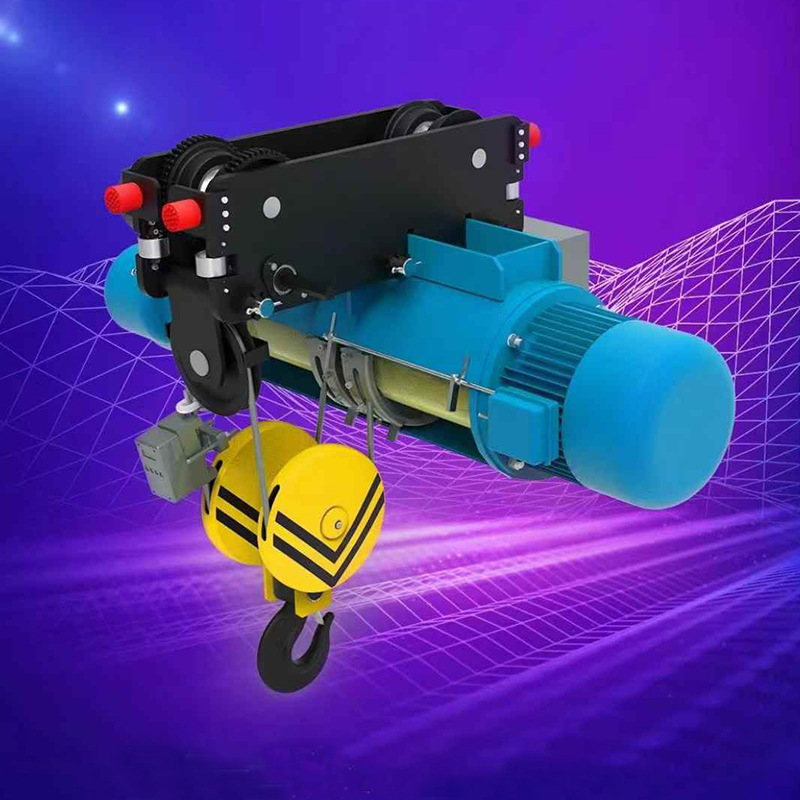
Low Headroom Wire Rope Hoist for Tight Workshops | SLKJCrane
Cost Saving Low Headroom Wire Rope Hoist for Tight Workshops When I visit customers’ workshops and warehouses, I
Contact Us Now
Have questions about our cranes or need help?
Reach out to our friendly team for expert support and guidance.
We are here to help you power your journey towards a greener future !
Address: Crane Industry Park, Xinxiang City Henan Provice
Hot Sales
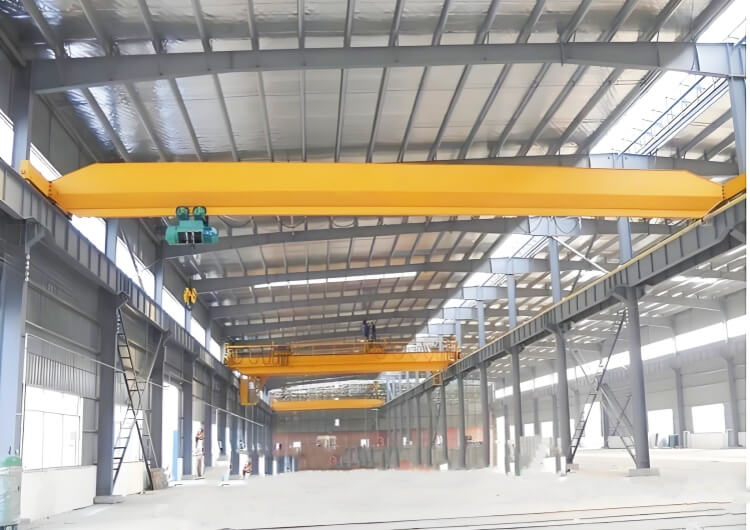
Single girder overhead cranes
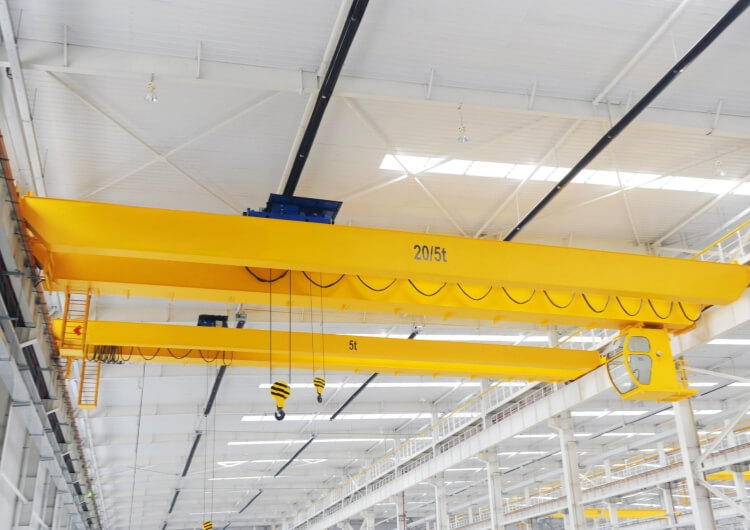
Double girder overhead cranes
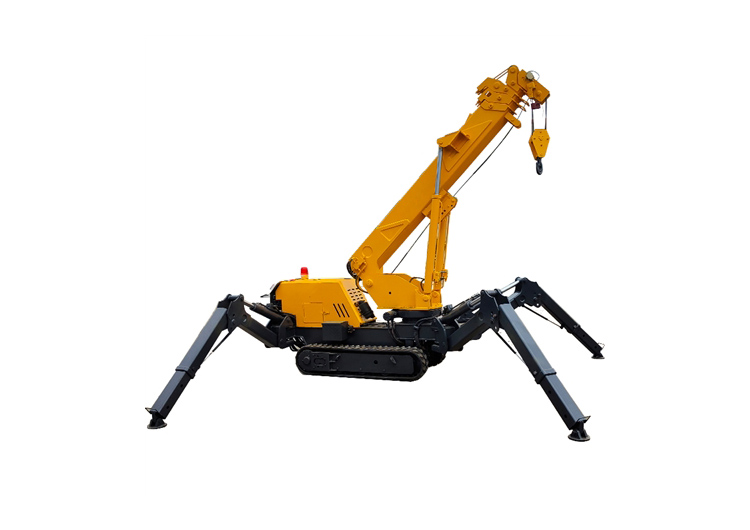
Spider cranes